How Lighting Choices Change the Way a Kitchen Feels and Functions
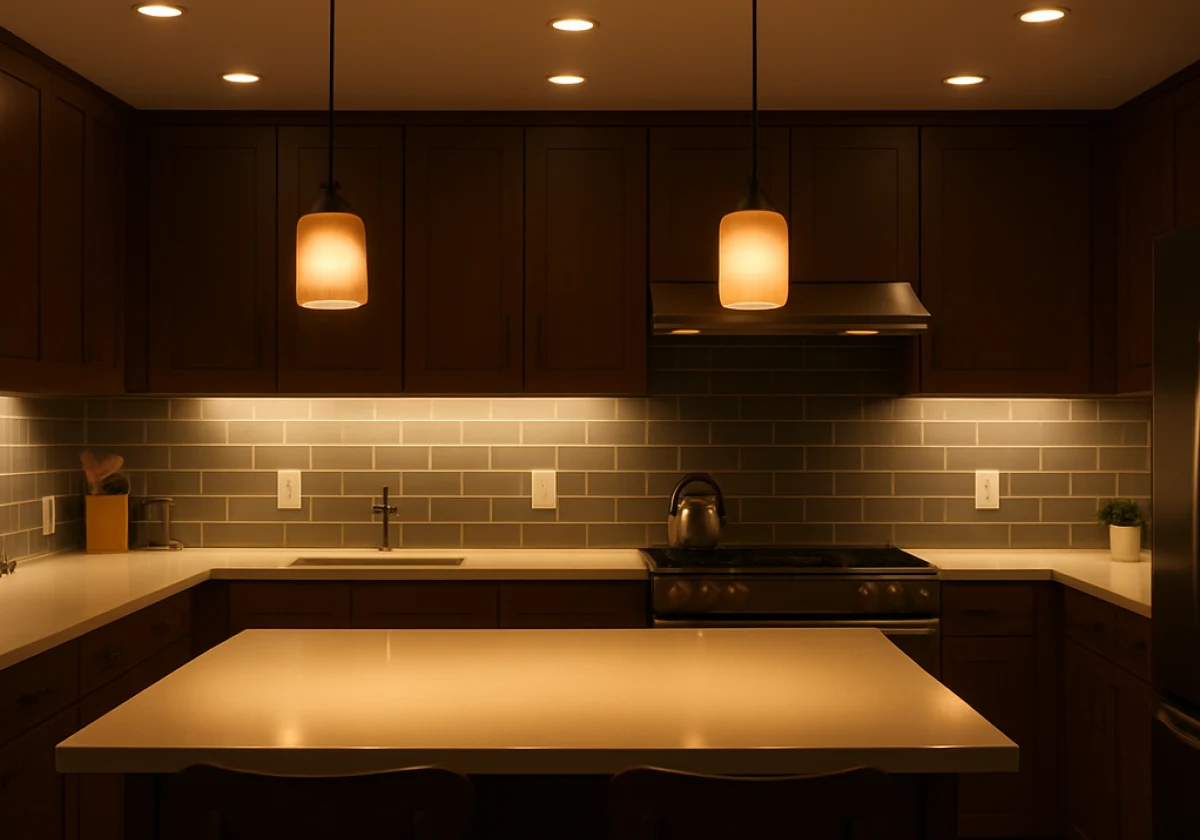
Smart kitchen lighting ideas change how a room feels and functions by layering ambient, task, and accent light across each zone. Get that layering right and the same room handles a rushed weekday breakfast and a slow Sunday roast.
But when a kitchen relies on just one light fitting, it can’t provide the same flexibility. Bench edges stay dim, and corners fall into shadow by six o’clock. At Sweet Lydia’s Kitchen, we often see this problem in kitchens of every size and age.
This guide covers how each lighting layer works, where task lighting belongs, and how colour temperature shifts the mood of a room. Let’s get into it.
Layered Lighting: Why One Ceiling Fitting Falls Short

Many kitchens are still lit by a single fitting stuck in the middle of the ceiling. Light spreads from one point, and your own body blocks the beam the second you reach the kitchen bench.
In this case, three layers of lighting can solve that.
1. Ambient Light Sets the Base Layer
Ambient light is the general wash that should reach the floor, the walls, and every benchtop evenly once natural light fades.
As a rule of thumb, spread downlights, track fittings, or kitchen linear lights across the ceiling instead of hanging one central globe. Choose fittings with a wider beam for general lighting, as narrow beams can leave bright spots and dark gaps.
We’ve pulled apart enough ceilings to know that downlight placement needs careful planning. Around 600mm from cupboard fronts can be a starting point, depending on the fittings and layout. The aim is to direct light onto the benches before your body blocks it (poor placement leaves shadows across your work area).
2. Task Lighting Kitchen Zones: Where the Real Work Happens
Task lighting aims a focused beam at the surface you’re working on, so you can chop and prepare food without your body casting shadows over the worktop.
As a solution, you can fit LED strip lights under your overhead cupboards. That’ll light up the full bench length and make it easier to chop onions, read labels, and measure ingredients. A separate switch lets you use these strips for food preparation without turning on every ceiling light.
Not to mention, these lights draw at least 75% less energy than the incandescent globes they replace. After years of fit-outs, no client has ever asked us to take those under-cupboard strips back out.
3. Accent Light Adds Depth After Dark
Accent lighting draws attention to specific kitchen features, such as a glass splashback or stone island bench. Along with that, a small spotlight or concealed LED strip brings out their colour and texture after dark.
Kitchen pendants over the island bench can make it a focal point while providing enough light for homework and board games. Put them on a dimmer so you can lower the brightness when the island isn’t in use.
Our favourite trick in a smaller home is a plinth strip under the base cabinets, which washes the floor and lifts the room. A low-output strip works here because the aim is a gentle glow rather than another source of bright light.
Where Should Task Lighting Go in a Busy Kitchen?
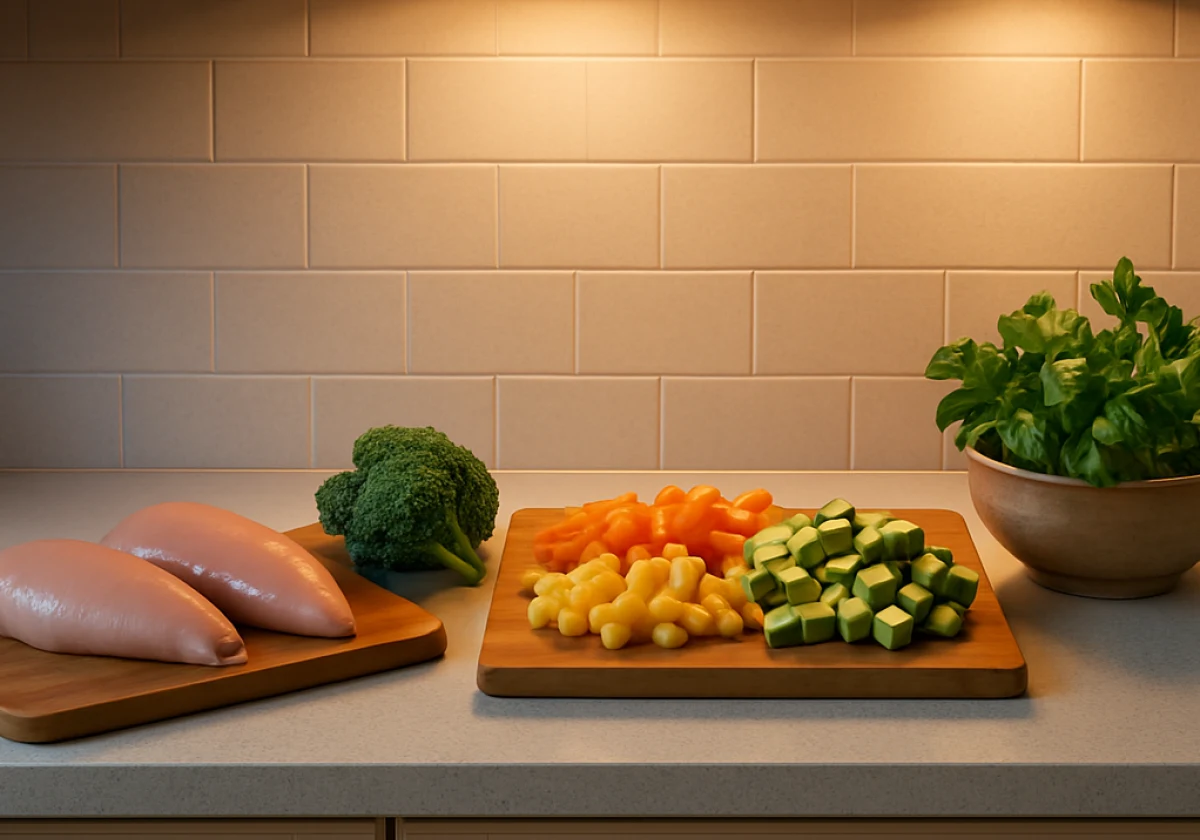
With the three layers covered, the next step is placing task lighting where you need it most. The bench, sink, and cooktop each need direct light for different activities.
The table below matches each zone to the fitting that suits it.
| Zone | Best fitting | Why it works |
|---|---|---|
| Kitchen bench | LED strip lights inside cupboards | No shadow line on the board |
| Sink | One downlight or small pendant | Stops you washing up in shade |
| Cooktop | Rangehood or exhaust fan light | Puts light straight on the pan |
| Island bench | Two or three kitchen pendants | Covers prep and bar seating |
Wire these zones onto separate switches so you can run the bench strip alone during a 6 am coffee run. You’ll use only the lights you need instead of lighting the entire kitchen.
The Best Kitchen Lighting Ideas Start With Colour Temperature

The right colour temperature makes timber look warmer, white cabinetry crisper, and everyday food look far more appetising. Colour temperature is measured in Kelvin (K), with lower numbers producing warmer-looking light and higher numbers producing cooler-looking light.
For example, anything near 2700K reads yellow and cosy, while 5000K produces a cooler, daylight-like appearance. In general, 3000K to 4000K offers a useful range.
Besides, warmer light near 3000K flatters oak and brass, while 4000K suits white cabinetry and provides a more neutral illumination for food preparation.
One rule we suggest every client follow is to keep the colour temperature consistent within each lighting layer. Mixing 3000K downlights with 4000K strips may create a noticeable difference in colour across the kitchen (your phone camera picks up the mismatch straight away).
Bottom Line: Check the Kelvin rating on the box before buying any light.
Kitchen Design Tips: Plan Lighting Early in a Kitchen Renovation
An electrician can run cables through open walls in an hour, but finished plaster takes far longer to access and repair. Planning ahead lets you avoid extra labour and repairs once the kitchen is finished.
Work through these four steps while your kitchen renovation plan still sits on paper:
- Mark Your Zones First: Draw the bench, sink, cooktop, and island, then mark where each fitting should go. This helps your electrician position cables and outlets before the cabinets cover those areas.
- Switching That Makes Sense: Plan separate switches for ambient, task, and accent lighting so you can use only the lights you need. Add dimmers to compatible fittings when you want softer light at night.
- Power Before Plaster: LED strip lights need a driver to convert mains power to the correct voltage. Set its location inside an accessible cupboard so you can reach it for maintenance or replacement.
- Pendant Heights: Hang pendants roughly 750mm above the island benchtop as a starting point. Adjust the height to suit the fitting, ceiling height, and sightlines so the lights don’t obstruct conversation across the island.
If you need help staging the switches, sort it at the design stage, because rewiring later costs far more. Most electricians quote a fixed price once your plan shows every switch, fitting, and driver.
Getting Started On Your Own Lighting Plan
Good kitchen lighting ideas come down to layering ambient, task, and accent light so each zone gets exactly what it needs. When you plan those three layers together, the room stays useful at every hour of the day.
To see where your kitchen needs improvement, walk through it after dark and note where shadows fall across the bench. This will help you identify dark work areas before choosing new fittings.
Sweet Lydia’s Kitchen builds lighting plans and kitchen fit-outs for people who cook every day. Contact the team to plan your lighting and find a setup that suits your cooking routine.